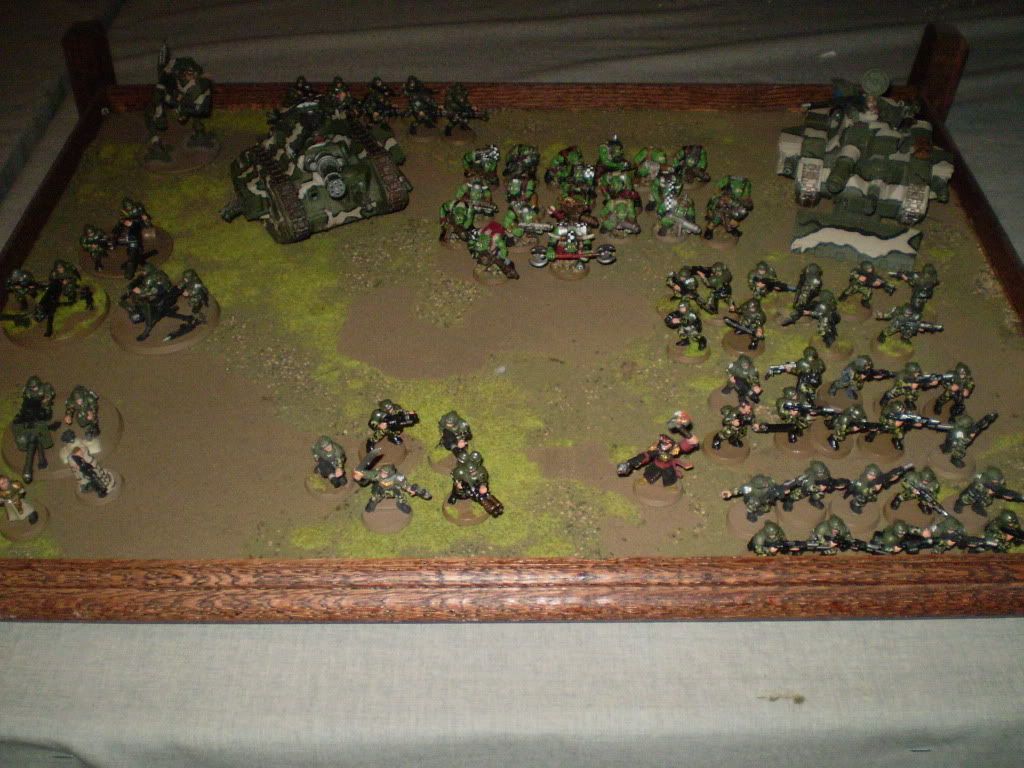
A Fall of Masuda campaign battle report:
Round 2: Cadian 17th vs. Da Red Finga (Orks).
Mission: Blitzkrieg (Ork as attackers). Terrain: Ruins.
Points: Orks: 1200: 1050 + 150 Mercenaries, Imperial Guard: 1150: 1000 + 150 Mercenaries (Orks)
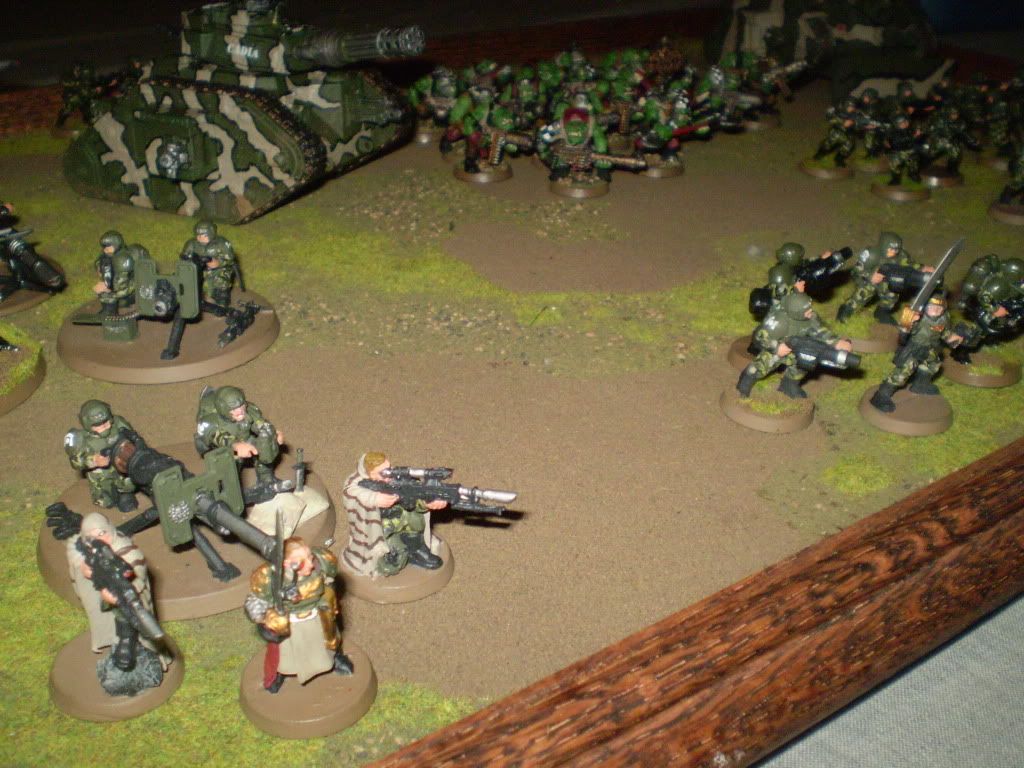
Looking to press their advantage around the mountainous region where they had made their base, the Imperial Guard forces of the Cadian 17th are looking to purge the immediate area of evil and filth.
3 Objectives set out. Deployment is spearhead, so objectives were center of board and center of line from corner to corner on non-deployment zone sides.
Orks have pressed on into the ruins and region to the East. Colonel Colwyn Dray saw the incoming threat of “Da Red Fingaz”. Scouts had been watching them and their continued harassment of loyal imperial forces. More importantly was how the information on the Red Orks whereabouts came from.
Unlikely allies, spies or mercenaries, depending upon one’s point of view. A unit of what can be termed as “commandos” arrived with a message from their “Warlord”. The message, while crude, was legible and detailed locations, forces and equipment of a ‘rival’ ork clan. The message had one final part to it:
“Help is on itz way to help you fight da Red Orks. For Da Emporror…..Warlord Krogg”
Uncertain exactly what that meant, the first part of the message was clear, Ork forces were on their way with the intention to strike. Colonel Dray figured to cut them off half way. Selecting a strategic section of one of the ruined city sections, Gunships were dispatched to help channel and guide the outriders of the incoming Ork force.
Relying more upon stronger defenses, Col. Dray selected a counter-strike team to help him with this mission. A lone sentinel scout walker was set forth to outflank, while sappers and a recon team of the 501st had scouted ahead and affixed bombs and booby traps to key locations within the ruined city.
Commissar Vilken Mortimer joined the Colonel and took command of the Infantry Platoon consisting of 3 squads and Lt. Ozgood Derg. Derg and Mortimer would combine the squads with Mortimer holding the units together in one strong regiment and Lt. Derg would help usher the other supporting forces through the ruined city.
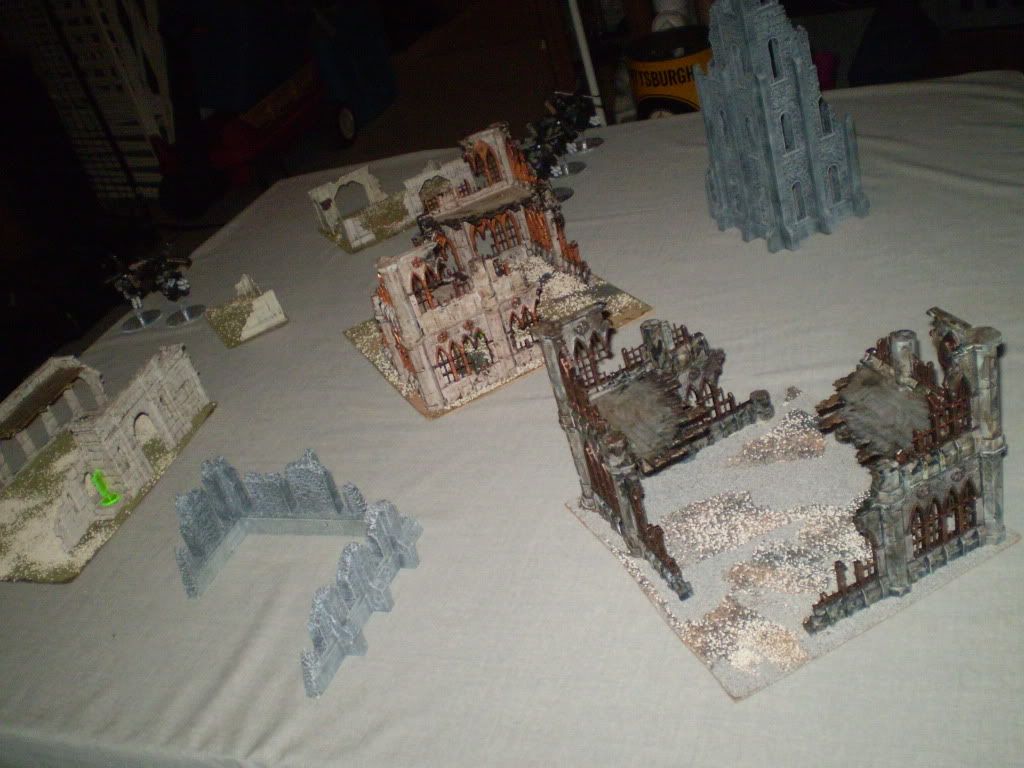
Ork turn 1: Ork scout forces led through the ruined city streets with two squads of Deffkoptas zooming through the streets. They found no Cadian forces to fight, as the Colonel held all of his units back in reserve. The Ork units crept up towards the back side of the Cadian deployment zone in hopes of denying room and space for battletanks and the large unit of men to deploy.
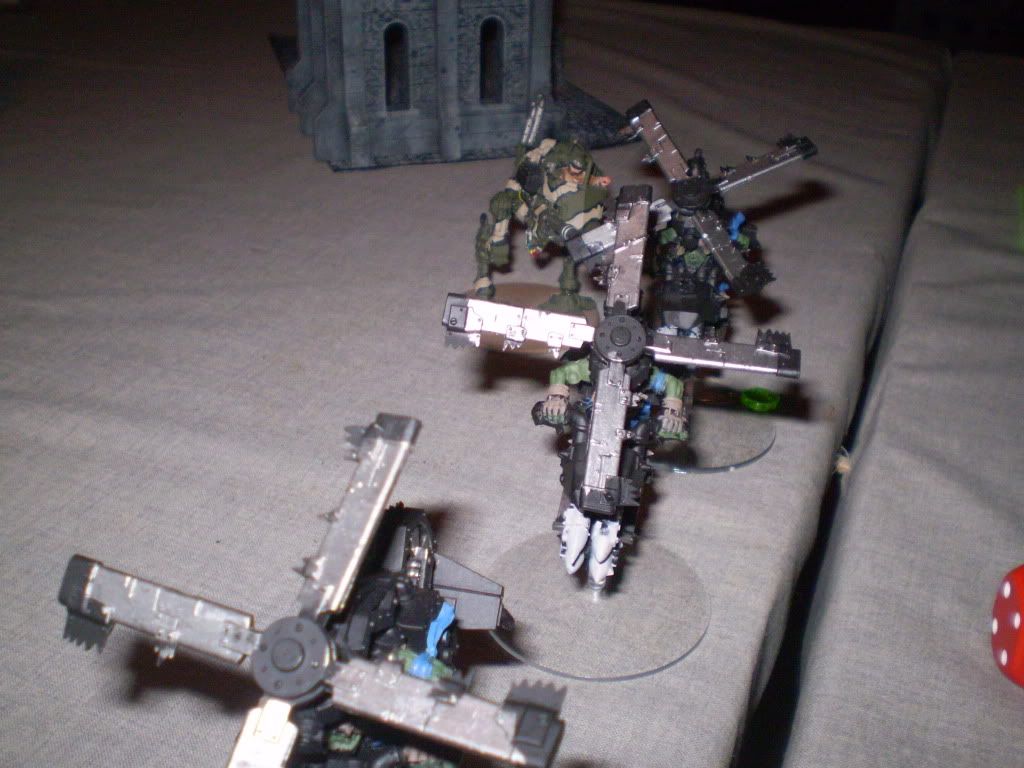
IG turn 1: Seeing the ‘dirty trick’ employed by the Orks, Col. Dray was ready to counter every move of the Orks. A veteran of the Pillars Of Hatred, the Colonel had become a wise tactician. Of the roaming scout sentinels he dispatched, one of them arrived early.
• In Blitzkrieg missions, only Fast units can deploy, everything else goes into reserve. Also, any fast units in reserve may arrive on turn one on a roll of a 4+ on a D6.
The Scout Sentinel arrived on the Eastern Flank, behind a trio of Ork Defcoptas. The driver opened fire with his multilaser, damaging one of the walkers. He then brought his walking machine into an assault with the Deffkoptas, that were not armed with a buzzsaw, and thus no way to damage the walker.
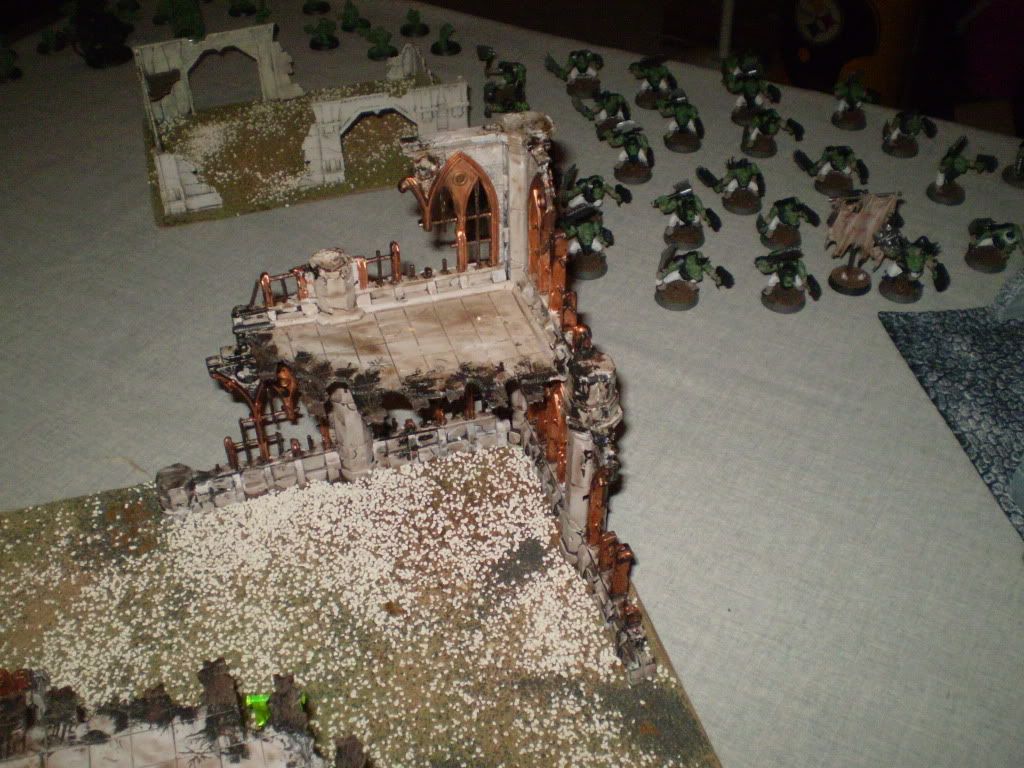
Ork turn 2: Two massive units of Ork boyz made their arrival from the far North. They would simply just start moving as far as they could. The Ork Deffkoptas tied up in the assault remain locked up, as they were unable to pull away with their “hit and run” skill at this time.
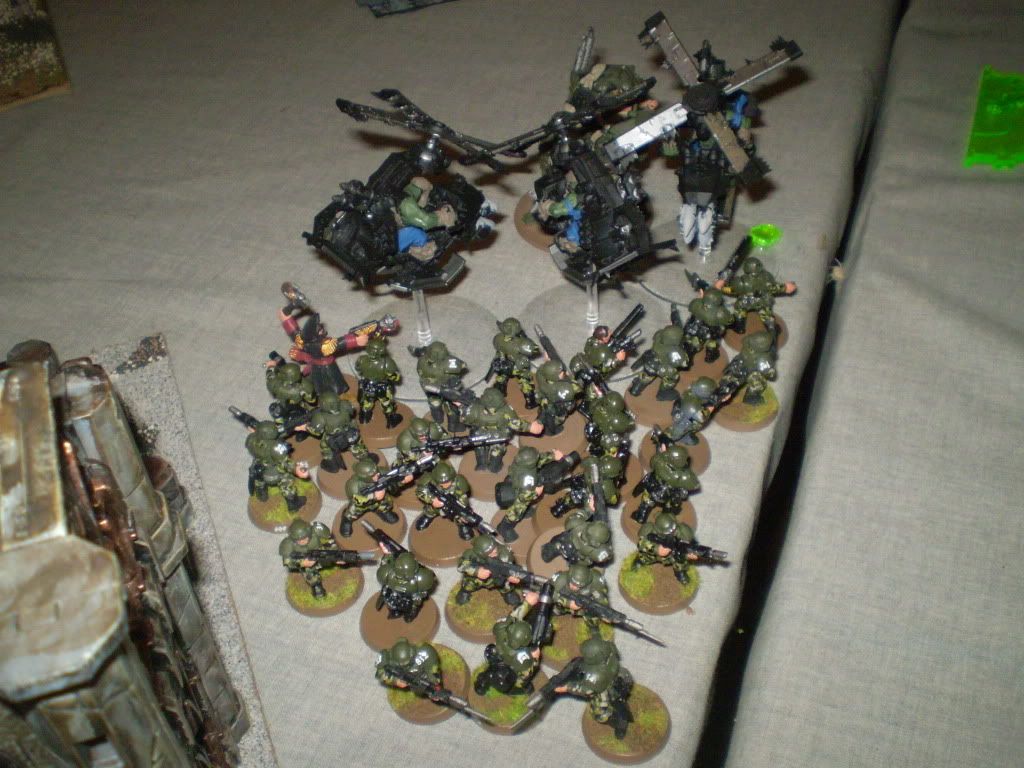
Cadian Turn 2: Commissar Mortimer arrives with his triple combined squad of 30 men. The Punisher tank and heavy weapons team also arrived. The Punisher tank opened fire with its Gatling cannon and took out the two roaming, rocket-armed deffkoptas. As for Commissar Mortimer, his units added their numbers to the fight and took down the remaining deffkoptas that were engaged with the Sentinel Walker. Despite Ork attempts at sabotage, the Punisher remained un-hindered in its duty.
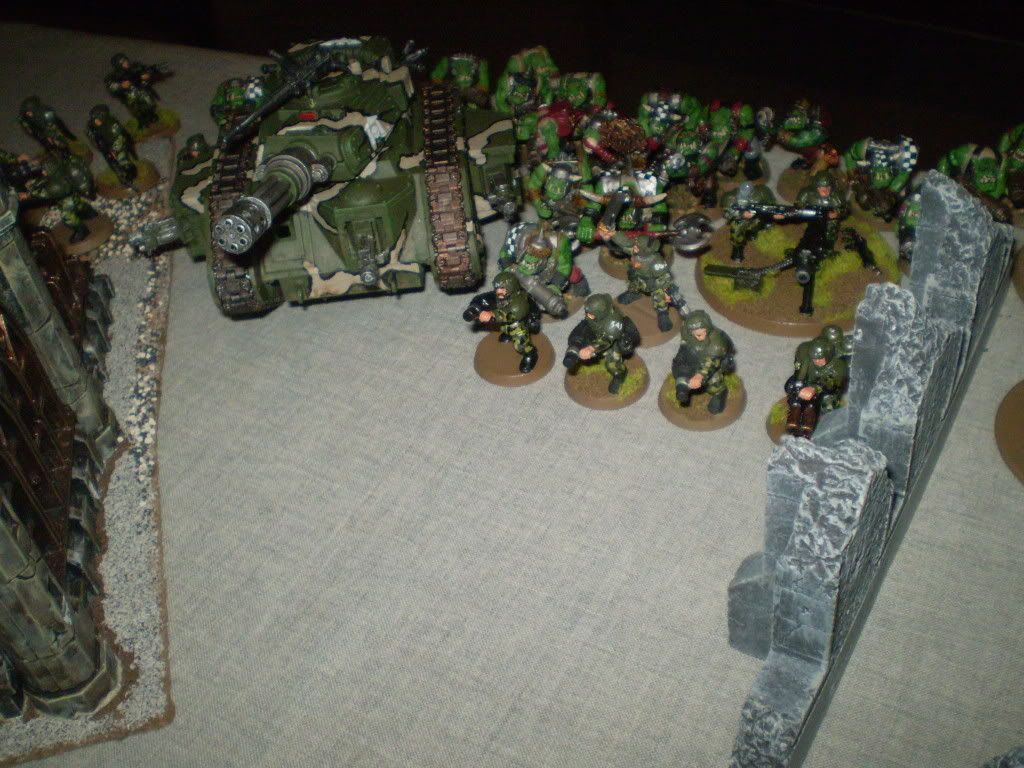
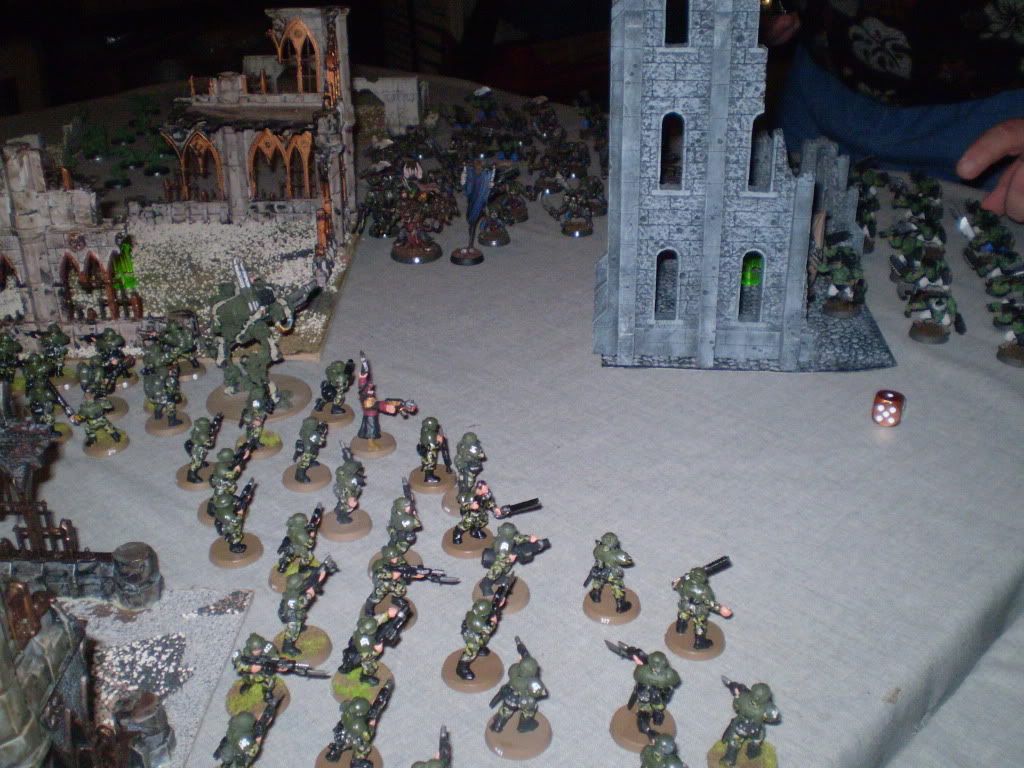
Ork turn 3: More orks forces arrive, all the orks can do at this point is run and move. Big Mek Arrives with unit of grots and a Shokk Attack Gun in the North West.
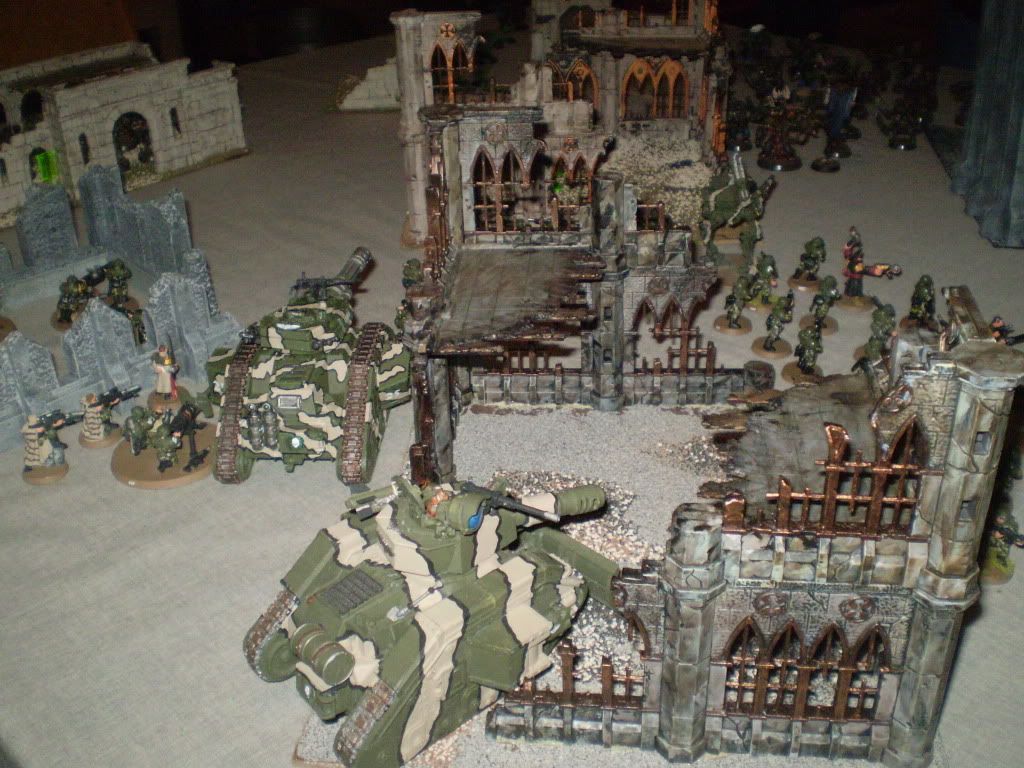
Cadian turn 3: A Leman Russ Battletank also arrives and lends its firepower to the fight. Combining fire with the Punisher tank, they cause some casualties on the orks. The Commissar takes his unit North and West, the Sentinel trying to draw fire from the orks. Heavy weapons teams lay down supporting fire with Heavy Bolters. Ork units seem wary to enter any buildings for fear of booby traps (and they are correct in assuming that).
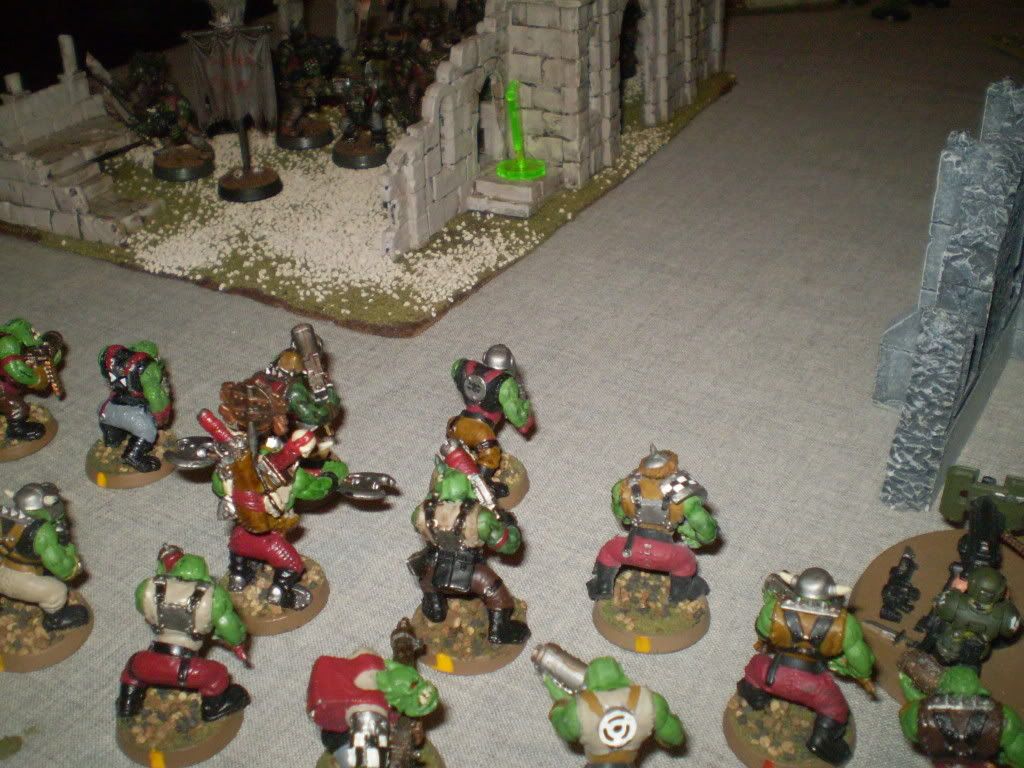
A Chinork transport Copter had arrived behind the Cadian lines. At first, Colonel Dray thought he was being outflanked himself, his command squad arriving in a Vendetta Gunship. They had landed prior to the battle starting, and it was his reinforcements, the Ork Mercenaries from Warlord Krogg. The leader, a Noble ork, or “Nob” as they are called, named Moosh, led the troops around the southwest towards the ruined building where Da Red Finga Orks were clinging to an objective in the ruins.
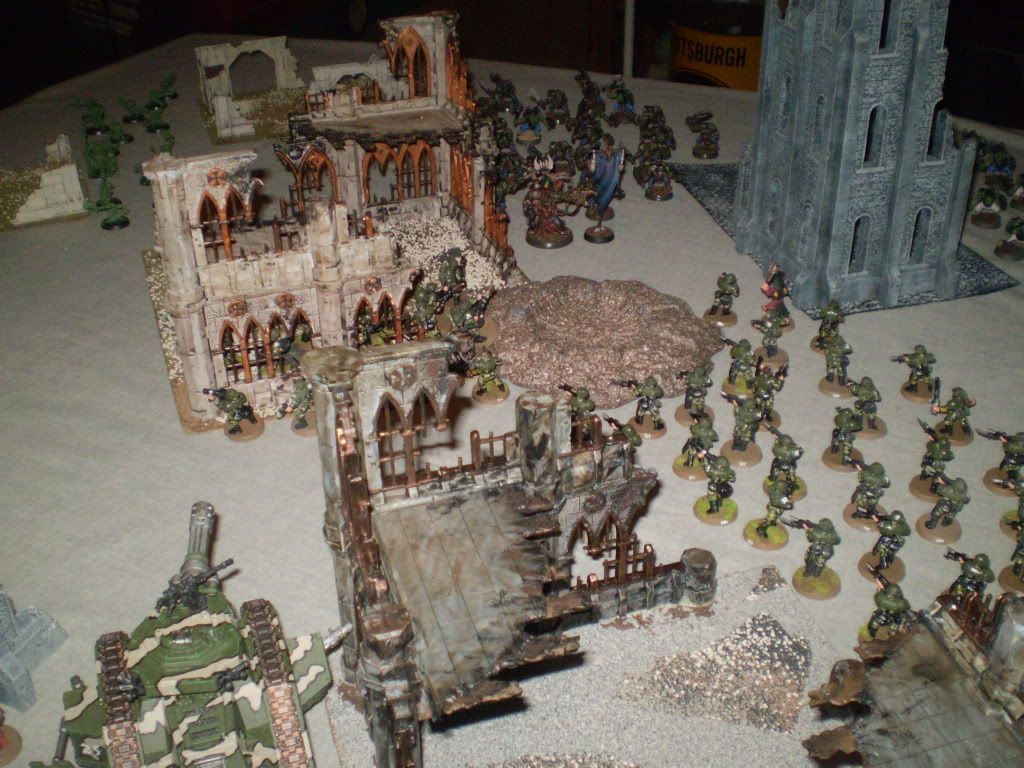
Ork turn 4: Ork warboss finally arrives with a contingent of troops. All other orks continue to move and run, but are doing such slowly in the runined land scape. (Terrible running rolls by Ed..) Orks to the Northeast had a solid hold on the objective there. Cadian forces had secured one in the center of the field of battle and were making a screen against incoming orks. To the southwest, one more objective lay and a mob of orks had entered the ruins and set off the booby traps, taking a couple casualties. Despite the heavy volume of fire directed at them, the orks were able to hold up and keep that objective somewhat secure.
Cadian turn 4: The arrival of Ork mercenaries bearing shootas was a strange one for the Cadian forces to endure. However, Colonel Dray finally arrived with his command squad and reassured his men that the orks were indeed in their employ and the perfect counter-strike unit to the fungus born filth that was already entrenched in the southwest ruins. The colonel figured that if he had to, he had enough flamers and heavy flamers available to flush out all of the orks after the fight was won.
Tanks continued to pour fire into ork mobs to the North, hoping to thin them out a bit. Heavy bolter teams also attempted to thin out the gretchin mob that was screening the Big Mek. The Sentinel Walker moved into the central ruins, detonating their own booby trap to allow Cadian Forces to enter safely and claim the middle objective.
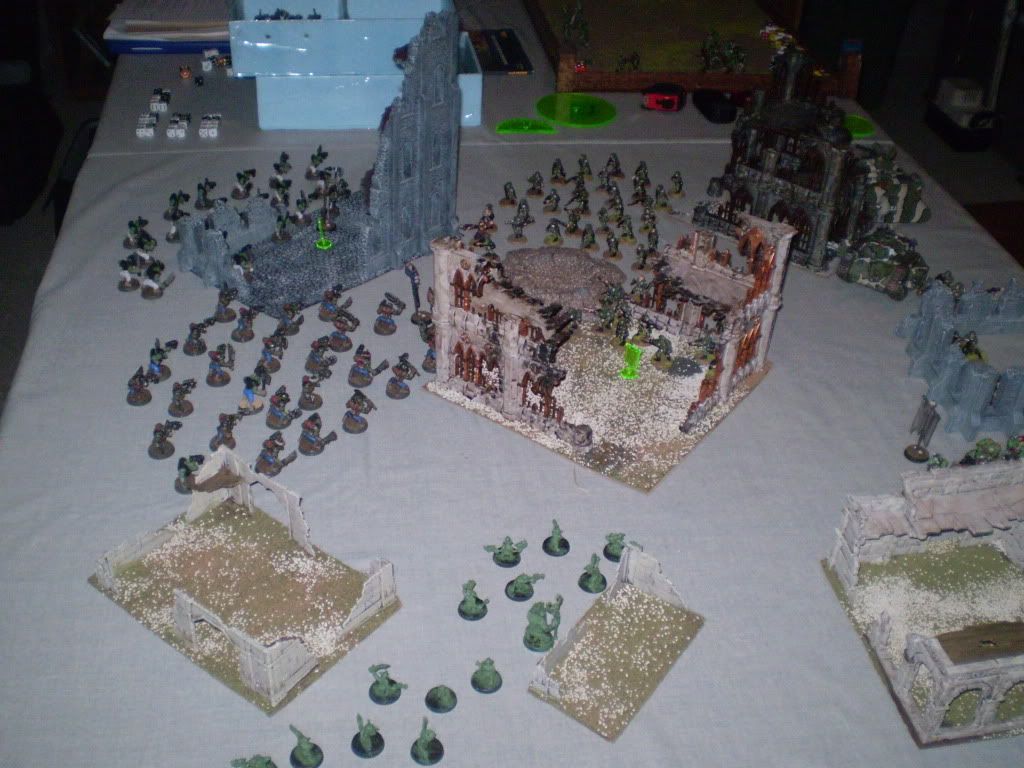
Ork turn 5: Ork mobs in the north continued to close in on Cadian forces. They had the Northeast objective secured. The warboss was urging his men forward, pushing south into the central ruins where the second objective lay, firmly in the hands of Lt. Derg and the remnants of a veteran flame squad that was on the move. In the Northwest, The Big Mek and gretchin mob had separated, with the whittled-down grots leaving because the Ork did not want to chance the Big Mek having to take a break test.
The orks in the southwest ruin were about to be engaged by the mercenary orks, who were looking to assault them and pull them off the 3rd objective. They were preparing to be assaulted.
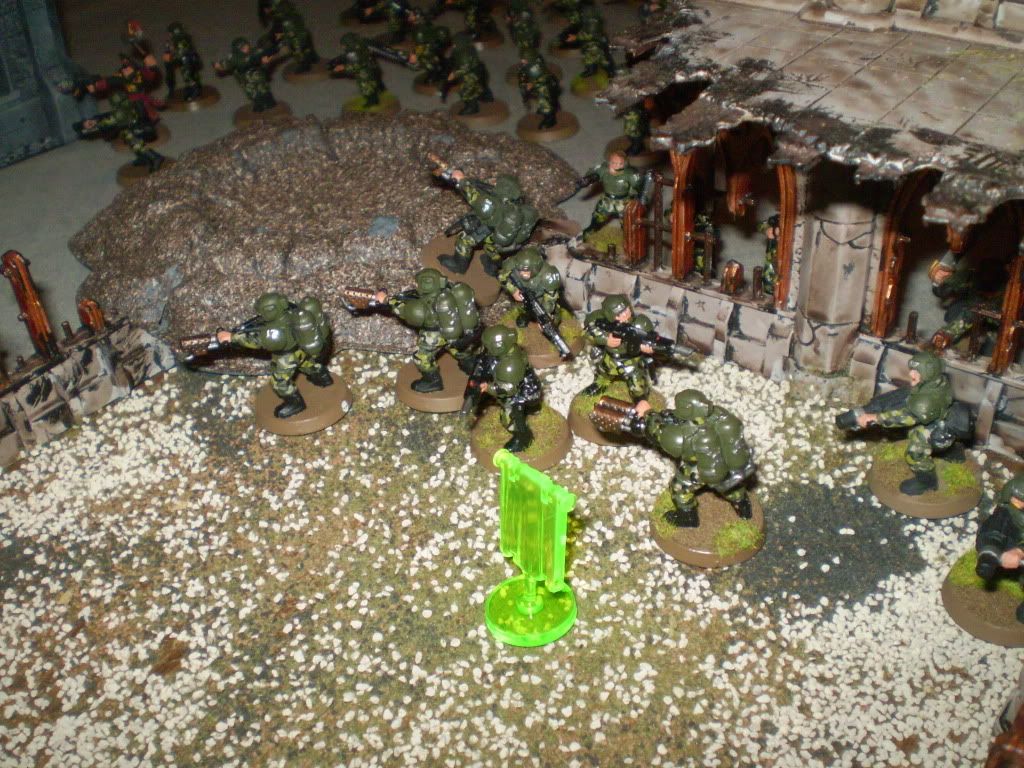
Cadian turn 5: Playing the war game tactically, Colonel Dray issued some orders to his men. Commissar Mortimer moved his large unit of troops to screen the Infantry command squad of Lt. Derg. The goal was to prepare to hold out against a combined ork assault long enough for the Cadian troops to maintain the central objective while the other forces pushed Da Red Finga troops off the southwest objective, thus securing a win for the Cadians, 2-1. Lasguns and Flamers opened fire into the orks, taking out a few, but still two mobs of about 15-20 Orks each yet, and the Warboss.
Fire support from the Battle tanks was lackluster, the Orks finally managing to sabotage the Punisher tank as a grot oiler managed to disable the guns for this turn. Colonel Dray ordered his own squad, the Autocannon crew in particular to “fire on my target” and they targeted the Ork Big Mek with Shokk Attack Gun. Wounds from this weapon would cause successful armor or cover saves to be rerolled. The veterans in the command squad fired, scored two hits and two wounds. The Mek made one save and failed another, as he was still behind the gretchin mob. Thanks to the Colonel’s order, the Mek had to reroll his successful save, and promptly failed it, and thus he was taken down with autocannon fire.
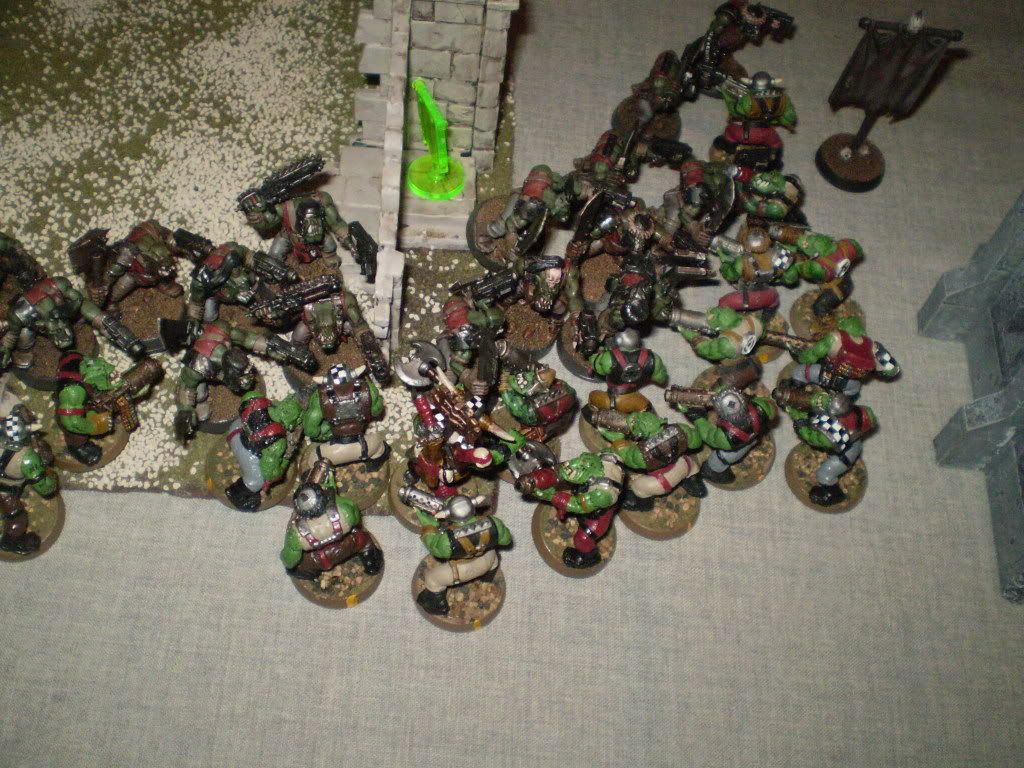
The Ork Mercenaries from Warlord Krogg stormed the ruins to the southwest. They fired their guns and assaulted the Red Finga Orks inside, but lost a few of their own in the process. Though they now outnumbered the Red Finga Orks, they remained locked in combat.
****Game ended on turn 5, both armies in control of 1 objective marker*****
Had the game gone to turn 6, Da Red Finga for some reason think they had a shot at winning this. The Cadian 17th disagree for the following reasons:
• A 30 man, stubborn unit with commissar was in range of being assaulted by orks. While they would have died, I think that the unit would have passed leadership and kept their ground, thus tying up orks from the Northeast objective, or at least leaving them just away from the middle objective.
• Central Objective was held by 2 units and the 30 man mob was screening them (above)
• One more turn for the assault in the southwest ruins had the heavy weapons teams joining the assault in a battle where the Ork Mercs of the Cadian 17th already outnumbered the orks of the Red Finga. I think the Cadian 17th could have forced a morale check for Da Red Finger and chased them off of that objective, giving the Cadians a 2-1 win.
This battle going to turn 7 may not have held out so well for the Cadians. As it was, it lasted 5 turns and resulted in a draw. Both armies lost the territories they were looking to keep the enemy off of, and no one gained a territory.
• Colonel Dray however, gained some battle experience and as such, part of this campaign, earned some new skills and gained +1 to his Weapon skill, giving him a WS of 5.


Imperial Guardsmen are faced with a problem similar to the Orkz: They don't appear to be good at anything on their own, but when you have 50 or so of them all working towards one purpose, then they're going to be very hard to stop. They're also supported by some of the best tanks in the entirety of the 40kverse.
ReplyDelete