Berks Spring Assault 4!

Berks Spring Assault 4!
Berks Spring Assault 4! Warhammer 40K tournament

Berks Warhammer 40K Group

Thursday, September 29, 2011

Preparing for a Busy Season


Well I have been busy preparing and playing a variety of games and systems and planning events. With the Mechanicon Grand Tournament and Convention on the horizon November 4, 5, and 6, myself and many of my fellow gamers are all getting ready to participate in a variety of events that weekend.

Photobucket
We also had a local round of ‘ard boyz for Warhammer 40K. I had entered that event with high hopes, but ended up making critical mistakes. I won one game with a minor vicotory, but started late, waiting for an opponent to arrive. I fought my 2nd game vs. a Chaos Marines player to a minor loss, but almost had a draw. My last game was against Space Wolves and I got the teeth kicked out of my orks. In the end I went 0-2-1 and fell to 5th place. Ah well, you live and learn. Even us veterans need to get our butts beaten to humble us and get us to review and relearn some new tricks.

Photobucket
Our local club, of which I am the president of, the Berks-PA Gaming Club, has been invited to host a series of Kill Team mini-tournaments. We have put together a really exciting set up using Warhammer 40K Kill-Team rules that can be found in the back of the Games Workshop’s Battle Missions book. We added our own input into house rules and provided our own Berks Club Kill Team Rules set.
Photobucket
We will be running three sessions of Kill Team events, each with 3 games to play at 45 minutes per game and 15 minutes break in between rounds allowing for a 3-hour event. We are hosting one game Satuday afternoon, one Saturday night after the Warhammer 40K Grand Tournament round, allowing GT players to participate and also a round Sunday afternoon.
We had held a local in-house Kill Team tournament as well, this was to help us work out the bugs of our tournament packet and the missions we plan to use. This was a very successful event. We had an optional “pool” and each player contributed $2 each. With 12 players, our club kicked in another $11 making the total a $35 gift card to the local hobby store we play at. That prize went to the overall winner and really was a nice idea and was a huge success.

Our awesome club city fight boards made by Angel Crespo, who also makes this wonderful terrain on commission for people. Our tables will be available for Open Gaming during the times that they are not being used for tournaments.

Photobucket
The Mechanicon Grand Tournament is still the main focus of many players and we are hoping to bring around eight of the Berks club players to the event. We are hosting our own in-house tournament at the local store we play at, The Last Level, called the “Berks Road to Mechanicon” tournament. This 1850 pointj Warhammer 40K tournament being held this weekend, October 1st, features prizes for $20 entry, with first place prize being a fully paid ticket to compete in the Mechanicon Grand Tournament, valued at $125.00!

I am also personally working on my Ork fleet for Battlefleet Gothic. There is a small BFG tournament being held Friday at the Mechanicon GT that I plan on playing in. Other club members are looking at the Friday Night Fights event that allows Warhammer 40K players to use Forge World and Imperial Armor models and army lists.

Friday, August 12, 2011

Preaprin' for 'ard boyz: Warhammer 40K style

Photobucket

Okay folks, lets see some lists. Sure, some want to keep it secret, but those who know me know pretty much what i'm bringin' anyway. The Orks of Waaagh! Karnage are out to cause mayhem. Win, Lose, Draw, we are out to give all of our opponents a fight.

I did not go with any "cheezy" Battlewagons, as I don't own any and didn't feel like going with one. I am using models all from my normal collection and everything is painted and based, even though in 'ard boyz, they don't need to be.
Photobucket

HQ1: Warboss Gnarsh: Power Klaw, 'eavy armor, cybork body, bosspole, kombi-shoota/skorcha
HQ2: Big Mek: Xox Grotsmasha: Kustom Force Field, 'eavy armor, cybork body

TROOPS:
* Alfa Skwad: 30 orks: sluggas & choppas, Nob w/ Power Klaw, 'eavy armor, bosspole
* Beta Skwad: 30 orks: shootas, 2 x rokkits, 1 x big shoota, Nob w/ Power Klaw, 'eavy armor, bosspole
* Grots: 15 gretchin & runtherder, squighound (G.O.D. "Grots Of Doom"..black squad)
* Grots II: 15 Gretchin & runtherder, squighound (Blue Squad)
* Nobs mob: 10 Nobs: ALL have cybork bodies: Painboy, 2 x Power Klaws (one with bosspole), 2 x Big choppas, 1 x kombi-skorcha, Waaagh! Banner
----Trukk: Reinforced Ram & Grot Riggers (big shoota)

ELITES:
* 10 x Lootas: (1 is mek), Deffguns and 1 Mek w/ Kustom Megablasta
* Karnage Kommandos: 13 x Kommandos, 2 x Burnas, AND Boss Snikrot

FAST ATTACK:
* Red Storm: 20 x Stormboyz (sluggas & choppas), Jump Infantry: 1 is Nob (Da Red Baron) w/ Power Klaw, 'eavy armor, bosspole
* White Storm: 20 x Stormboyz (sluggas & choppas), Jump Infantry: 1 is Nob (Chubby Chekkaz) w/ Power Klaw, 'eavy armor, bosspole.
* Deffkoptas Squadron: 4 x Deffkoptas: twin-linked big shootas. 1 x Twin-linked Rokkit launchas, 1 x big bomb, 1 x buzzsaw

HEAVY SUPPORT:
* 3 x Killa Kanz, all with Rokkit Launchas
Photobucket

Photobucket

Photobucket

Photobucket

Photobucket

Photobucket

Photobucket

Monday, July 4, 2011

Warhammer Fantasy Battle Report: Orcs vs. Tomb Kings

Photobucket
A Tale of X-Gamers.....This seems to be a revolving number of players in the Berks-Pa Gaming Club that are participating in a Warhammer Fantasy Battles uprising.    I myself first got my start in table top wargaming outside of Role Playing Games with Warhammer Fantasy.   My Dwarfs of Clan Steel Thunder were my original army.

Now with the release of 8th edition, a year later, 7 or 8 of us in Berks are looking to get back involved with Fantasy Battles.    So, following a format of the classic "Tale of 4 Gamers" from the White Dwarf magazines, we are doing something similar in our game club.   The initial plan is to construct 500 point armies, build them, paint them and play at least one game with them within 6-8 weeks. 

Now that I finally got on to this project, I had opted to go with the arch enemy of my beloved Dwarves, and roll with Orcs & Goblins.   The decision was easy, as first of all, it is the classic enemy to my favorite army.  The other determining factor was that I had over 1500 points of unbuilt, unpainted Orcs & Goblins laying around on shelves in the "Man Cave".   So it just was econimically smart to get this project under way.

Like any true "fluff" player, I had to come up with how I was going to go with the background of my army.   Deciding that a young and upcoming Orc Big Boss would start to assemble units of his warband into his own Waaagh! one day, I decided to keep it simple.    So here came Big Boss Gorlab (Balrog spelled backwards).     No Orc Boss is worth his salt without a few bands of orc boyz along, so I threw in a mob of Orc boyz and Orc Arrer boyz I had sitting around.    To fill out final points I added 7 of the Forest Goblin Spider Riders from the old Battle For Skull Pass boxed set.
Photobucket
My army looked like this:
* Big Boss Gorlab: Shield, handweapon, Shrieking Blade (causes fear), Armor of Fortune (Heavy armor and 5+ ward save).
* Boyz Mob: 20 boyz, extra hand weapons, shields, light armor, musician, standard bearer and Boss.
* Arrer Boyz mob:  15 Orc Arrer boyz  (hand weapon, bow, light armor)
* 7 spider Riders:   (hand weapon, short bow, spear, shield).
Photobucket
And that totals up to a simple 500 points.    My opponent this month was my friend Colin Galen who brings with him Tomb Kings.   However, due to timing, he had to play this game with the old rules and due to the costs and numbers, he was at a disatvantage.

We played a mission from the book, where you must capture a tower in the center of the board.   We used a ruins structure I have that would work well for the main objective of the game.

The Tomb Kings set up to the far North, a unit of skeletal archers centrally located and a unit of warriors with a Tomb King or Guardian of some sorts just to the East of them  (Orcs facing North, deploying from the South).   The leader was not attatched to a unit but using walls for cover and also was a sorcerer of sorts.
Photobucket
The Orc Arrer Boyz set up to move into the ruined structure, preparing to garrison it.  To the South East I had the unit of Orc Boyz flanked by the Spider Riders that I was planning to use to move through the woods as fast cavalry and close the distance on the skeletal archers.

Tomb Kings turn 1:  They moved, took range at the orcs, only to miss with all of their shots or failing to wound on any of them.
Photobucket
Orc turn 1:  Gorlab himself was attatched to the large mob of Orc boyz, leading his troops into battle.     As fate would have it, the Orc Arrer Boyz rolled animosity, but rolled a "6", and got "we'll show 'em!" and surged forward into the ruined building, setting up their garrison and the movement put them in range of the skeletal archers, allowing them to fire at the archers and taking out 2 of them.

The other units simply advanced under march trying to close the distance with their enemies.

Tomb Kings turns 2 & 3:  These pretty much saw Skeletal Archers shooting at Orcs, and very rarely wounding them and when they did score wounds, the orcs usually managed to save the wounds.  I think a total of 3 orcs died in 3 turns of shooting.    The Tomb King Sorcerer kept trying to cast his spell upon his archers, aiding them in their attacks.  Sometimes it worked, sometimes I managed to dispell it.
Photobucket
Orc turns 2 & 3:   Orc infantry and spider riders continued to advance through the woods.    Orc Arrer boyz continued to whittle down the skeletal archers, who kept mananging to regenerate a few each turn or their Tomb King sorcerer would reanimate a few each turn.

Tomb King turn 4:   As orc forces continued to close the distance, the skeletal foot soldiers prepared themselves to be in a position to avoid a charge by the advancing orcs.    The sorcerer continued to reanimate fallen skeletal archers and managed to stay out of Line-of-sight so that he could not be targeted by Orc archers.

Orc turn 4:  Forest Goblin spider riders closed the gap on the skeletal archers.    Orc arrer boyz were doing enough damage that the sorcerer could not reanimate them all fast enough.    Sooner or later the skeletal archers were going to fall.    The Orc infantry boyz kept closing the gap, moving slowly through the forests in their path.

Tomb King turn 5:  Again more repositioning, the skeletal warriors prepare for the orc assault, reforming just to hopefully be at the edge of charge reach for the orcs.    The skeletal archers took out some of the spider riders but cause them to flee far enough away.
Photobucket
Orc turn 5:  Orc infantry boyz and Gorlab fail their charge against the skeletal warriors.    The orcs now prepare themselves to be assaulted.   Orc archers manage to finish off the skeletal archers along with aid from the spider riders, who were forced to flee.
Photobucket
Tomb King turn 6:  The Skeletal Warriors with a Guardian or something, assault the Orcs.   Gorlab calls out a challenge and the Skeletal leader accepts.    The fight is burtal, and ends in drawn combat.

Orc turn 6:  Arrer boyz finish off skeletal archers.    Gorlab, in single combat, cuts down the skeletal tomb king sergeant/veteran.    The orcs win the combat but the tomb kings remain locked in combat.    The sorcerer looks for a safe place to hide.
Photobucket
Tomb King turn 7:  More skeletal warriors die but hold their ground.   Things look grim for the Tomb Kings.

Orc turn 7:  Gorlab has fun killing skeletons.   The combat again is drawn, and the orcs find the Tomb Kings to be tough opponents in close quarters.    Game ends here, Orcs in control of the Garrisoned tower.   A win for Gorlab and  his Orc Boyz!

Friday, June 10, 2011

Warhammer 40K Battle Report: Imperial Guard vs. Orks

Warhammer 40,000 Battle Report


Photobucket
A Fall of Masuda campaign battle report:

Round 2: Cadian 17th vs. Da Red Finga (Orks).

Mission: Blitzkrieg (Ork as attackers). Terrain: Ruins.

Points: Orks: 1200: 1050 + 150 Mercenaries, Imperial Guard: 1150: 1000 + 150 Mercenaries (Orks)
Photobucket
Looking to press their advantage around the mountainous region where they had made their base, the Imperial Guard forces of the Cadian 17th are looking to purge the immediate area of evil and filth.

3 Objectives set out. Deployment is spearhead, so objectives were center of board and center of line from corner to corner on non-deployment zone sides.

Orks have pressed on into the ruins and region to the East. Colonel Colwyn Dray saw the incoming threat of “Da Red Fingaz”. Scouts had been watching them and their continued harassment of loyal imperial forces. More importantly was how the information on the Red Orks whereabouts came from.

Unlikely allies, spies or mercenaries, depending upon one’s point of view. A unit of what can be termed as “commandos” arrived with a message from their “Warlord”. The message, while crude, was legible and detailed locations, forces and equipment of a ‘rival’ ork clan. The message had one final part to it:

“Help is on itz way to help you fight da Red Orks. For Da Emporror…..Warlord Krogg”

Uncertain exactly what that meant, the first part of the message was clear, Ork forces were on their way with the intention to strike. Colonel Dray figured to cut them off half way. Selecting a strategic section of one of the ruined city sections, Gunships were dispatched to help channel and guide the outriders of the incoming Ork force.

Relying more upon stronger defenses, Col. Dray selected a counter-strike team to help him with this mission. A lone sentinel scout walker was set forth to outflank, while sappers and a recon team of the 501st had scouted ahead and affixed bombs and booby traps to key locations within the ruined city.

Commissar Vilken Mortimer joined the Colonel and took command of the Infantry Platoon consisting of 3 squads and Lt. Ozgood Derg. Derg and Mortimer would combine the squads with Mortimer holding the units together in one strong regiment and Lt. Derg would help usher the other supporting forces through the ruined city.
Photobucket
Ork turn 1: Ork scout forces led through the ruined city streets with two squads of Deffkoptas zooming through the streets. They found no Cadian forces to fight, as the Colonel held all of his units back in reserve. The Ork units crept up towards the back side of the Cadian deployment zone in hopes of denying room and space for battletanks and the large unit of men to deploy.
Photobucket
IG turn 1: Seeing the ‘dirty trick’ employed by the Orks, Col. Dray was ready to counter every move of the Orks. A veteran of the Pillars Of Hatred, the Colonel had become a wise tactician. Of the roaming scout sentinels he dispatched, one of them arrived early.

• In Blitzkrieg missions, only Fast units can deploy, everything else goes into reserve. Also, any fast units in reserve may arrive on turn one on a roll of a 4+ on a D6.

The Scout Sentinel arrived on the Eastern Flank, behind a trio of Ork Defcoptas. The driver opened fire with his multilaser, damaging one of the walkers. He then brought his walking machine into an assault with the Deffkoptas, that were not armed with a buzzsaw, and thus no way to damage the walker.
Photobucket
Ork turn 2: Two massive units of Ork boyz made their arrival from the far North. They would simply just start moving as far as they could. The Ork Deffkoptas tied up in the assault remain locked up, as they were unable to pull away with their “hit and run” skill at this time.

Photobucket
Cadian Turn 2: Commissar Mortimer arrives with his triple combined squad of 30 men. The Punisher tank and heavy weapons team also arrived. The Punisher tank opened fire with its Gatling cannon and took out the two roaming, rocket-armed deffkoptas. As for Commissar Mortimer, his units added their numbers to the fight and took down the remaining deffkoptas that were engaged with the Sentinel Walker. Despite Ork attempts at sabotage, the Punisher remained un-hindered in its duty.
Photobucket

Photobucket
Ork turn 3: More orks forces arrive, all the orks can do at this point is run and move. Big Mek Arrives with unit of grots and a Shokk Attack Gun in the North West.

Photobucket
Cadian turn 3: A Leman Russ Battletank also arrives and lends its firepower to the fight. Combining fire with the Punisher tank, they cause some casualties on the orks. The Commissar takes his unit North and West, the Sentinel trying to draw fire from the orks. Heavy weapons teams lay down supporting fire with Heavy Bolters. Ork units seem wary to enter any buildings for fear of booby traps (and they are correct in assuming that).

Photobucket
A Chinork transport Copter had arrived behind the Cadian lines. At first, Colonel Dray thought he was being outflanked himself, his command squad arriving in a Vendetta Gunship. They had landed prior to the battle starting, and it was his reinforcements, the Ork Mercenaries from Warlord Krogg. The leader, a Noble ork, or “Nob” as they are called, named Moosh, led the troops around the southwest towards the ruined building where Da Red Finga Orks were clinging to an objective in the ruins.
Photobucket
Ork turn 4: Ork warboss finally arrives with a contingent of troops. All other orks continue to move and run, but are doing such slowly in the runined land scape. (Terrible running rolls by Ed..) Orks to the Northeast had a solid hold on the objective there. Cadian forces had secured one in the center of the field of battle and were making a screen against incoming orks. To the southwest, one more objective lay and a mob of orks had entered the ruins and set off the booby traps, taking a couple casualties. Despite the heavy volume of fire directed at them, the orks were able to hold up and keep that objective somewhat secure.

Cadian turn 4: The arrival of Ork mercenaries bearing shootas was a strange one for the Cadian forces to endure. However, Colonel Dray finally arrived with his command squad and reassured his men that the orks were indeed in their employ and the perfect counter-strike unit to the fungus born filth that was already entrenched in the southwest ruins. The colonel figured that if he had to, he had enough flamers and heavy flamers available to flush out all of the orks after the fight was won.

Tanks continued to pour fire into ork mobs to the North, hoping to thin them out a bit. Heavy bolter teams also attempted to thin out the gretchin mob that was screening the Big Mek. The Sentinel Walker moved into the central ruins, detonating their own booby trap to allow Cadian Forces to enter safely and claim the middle objective.
Photobucket
Ork turn 5: Ork mobs in the north continued to close in on Cadian forces. They had the Northeast objective secured. The warboss was urging his men forward, pushing south into the central ruins where the second objective lay, firmly in the hands of Lt. Derg and the remnants of a veteran flame squad that was on the move. In the Northwest, The Big Mek and gretchin mob had separated, with the whittled-down grots leaving because the Ork did not want to chance the Big Mek having to take a break test.

The orks in the southwest ruin were about to be engaged by the mercenary orks, who were looking to assault them and pull them off the 3rd objective. They were preparing to be assaulted.
Photobucket
Cadian turn 5: Playing the war game tactically, Colonel Dray issued some orders to his men. Commissar Mortimer moved his large unit of troops to screen the Infantry command squad of Lt. Derg. The goal was to prepare to hold out against a combined ork assault long enough for the Cadian troops to maintain the central objective while the other forces pushed Da Red Finga troops off the southwest objective, thus securing a win for the Cadians, 2-1. Lasguns and Flamers opened fire into the orks, taking out a few, but still two mobs of about 15-20 Orks each yet, and the Warboss.

Fire support from the Battle tanks was lackluster, the Orks finally managing to sabotage the Punisher tank as a grot oiler managed to disable the guns for this turn. Colonel Dray ordered his own squad, the Autocannon crew in particular to “fire on my target” and they targeted the Ork Big Mek with Shokk Attack Gun. Wounds from this weapon would cause successful armor or cover saves to be rerolled. The veterans in the command squad fired, scored two hits and two wounds. The Mek made one save and failed another, as he was still behind the gretchin mob. Thanks to the Colonel’s order, the Mek had to reroll his successful save, and promptly failed it, and thus he was taken down with autocannon fire.
Photobucket
The Ork Mercenaries from Warlord Krogg stormed the ruins to the southwest. They fired their guns and assaulted the Red Finga Orks inside, but lost a few of their own in the process. Though they now outnumbered the Red Finga Orks, they remained locked in combat.

****Game ended on turn 5, both armies in control of 1 objective marker*****

Had the game gone to turn 6, Da Red Finga for some reason think they had a shot at winning this. The Cadian 17th disagree for the following reasons:

• A 30 man, stubborn unit with commissar was in range of being assaulted by orks. While they would have died, I think that the unit would have passed leadership and kept their ground, thus tying up orks from the Northeast objective, or at least leaving them just away from the middle objective.

• Central Objective was held by 2 units and the 30 man mob was screening them (above)

• One more turn for the assault in the southwest ruins had the heavy weapons teams joining the assault in a battle where the Ork Mercs of the Cadian 17th already outnumbered the orks of the Red Finga. I think the Cadian 17th could have forced a morale check for Da Red Finger and chased them off of that objective, giving the Cadians a 2-1 win.

This battle going to turn 7 may not have held out so well for the Cadians. As it was, it lasted 5 turns and resulted in a draw. Both armies lost the territories they were looking to keep the enemy off of, and no one gained a territory.

• Colonel Dray however, gained some battle experience and as such, part of this campaign, earned some new skills and gained +1 to his Weapon skill, giving him a WS of 5.

Saturday, May 7, 2011

Battle Report: Imperial Guard vs. Space Wolves

Photobucket
A Fall of Masuda Campaign Battle Report:

Cadian 17th vs. Berek’s Great Company.

In the aftermath of the False Hope Crusade where several forces were fighting over the False Hope Sector, the forces of Order serving the Imperium had swayed the tide of most of the systems towards orderly control, if not peace. Many Xenos and forces of Chaos had been vanquished, but still others had managed to lurk and slip through the cracks of the defense networks established by the so called “Forces of Order”.

The False Hope sector has been ravaged by unending wars since the beginning of the last decade of the 41st millennium. Occupation of each of the systems is continually contested. To the galactic south of Sebastian’s Straits lies the planet of Masuda.

This once lush planet was suspected of being an Eldar Maiden world. It was also suspected of housing an ancient warp gateway that allowed the denizens of chaos to enter this reality unabated.

Whatever Masuda once was, today it stands in ruins. Lord General Militant Gaven Therarius’ last crusade to reclaim the False Hope sector for the Imperium saw no less than 24 decisive battles fought on this world. This constant state of warfare attracted Chaos and xenos alike, perpetuating the bloodshed.

One final push to claim the planet for the Imperium was initiated. Space Marines and Imperial Guardsmen fought side-by-side to rid the planet of traitorous Marines and Orks. But in the midst of battles, those who were once considered allies were suspected of deceit.

And history repeated itself again. The curse of the False Hope Sector is not its unusual location above the galactic planet. It is not that the Emperor’s Astronomican Light cannot always be seen. The curse of the sector is that, for some reason, brother seems to always turn against brother when fighting over a planet.

Could it be the work of the Chaos Gods to instill distrust on those who dare trespass on their ancient planets? Could it be a more sinister power at work? Or is this what happens when the Emperor’s Light can no longer be seen?

Colonel Colwyn Dray of the Cadian 17th had successfully led a Recon strike force into battles against various forces during the Pillars of Hatred Campaign. This stalwart combat veteran would be called upon once again to send his forces into battle into territories against forces unknown. They are in dangerous territory, the Havaria Sector clearly under disarray and chaos from the various battles and forces that have waged war here over the past decade.

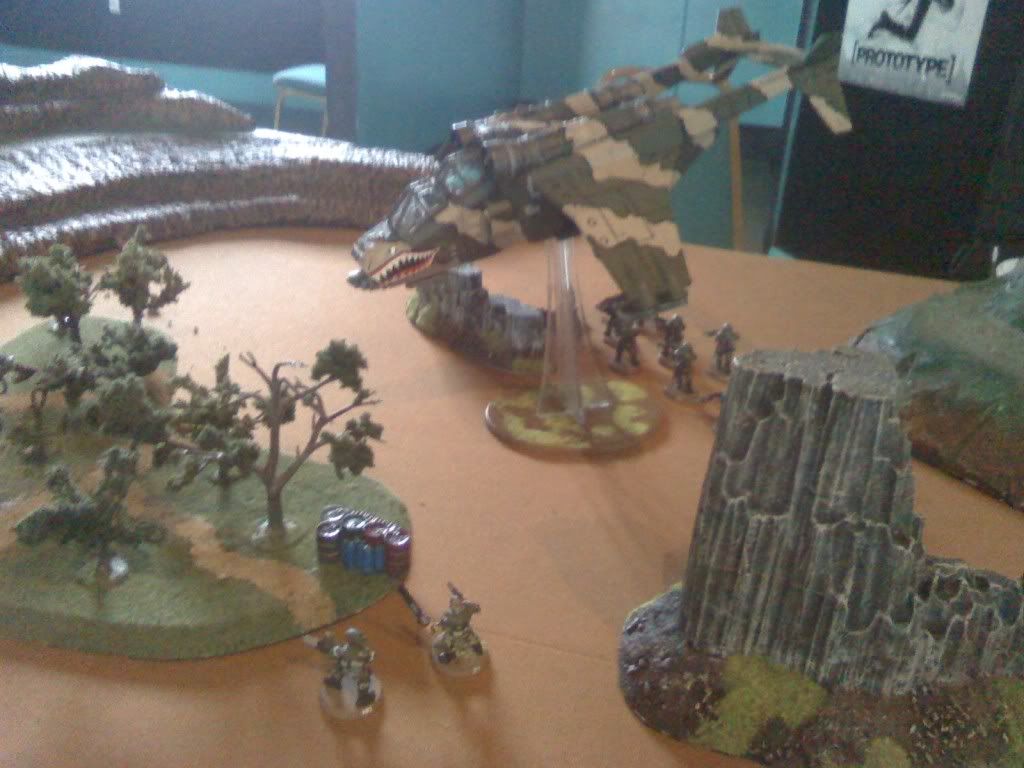
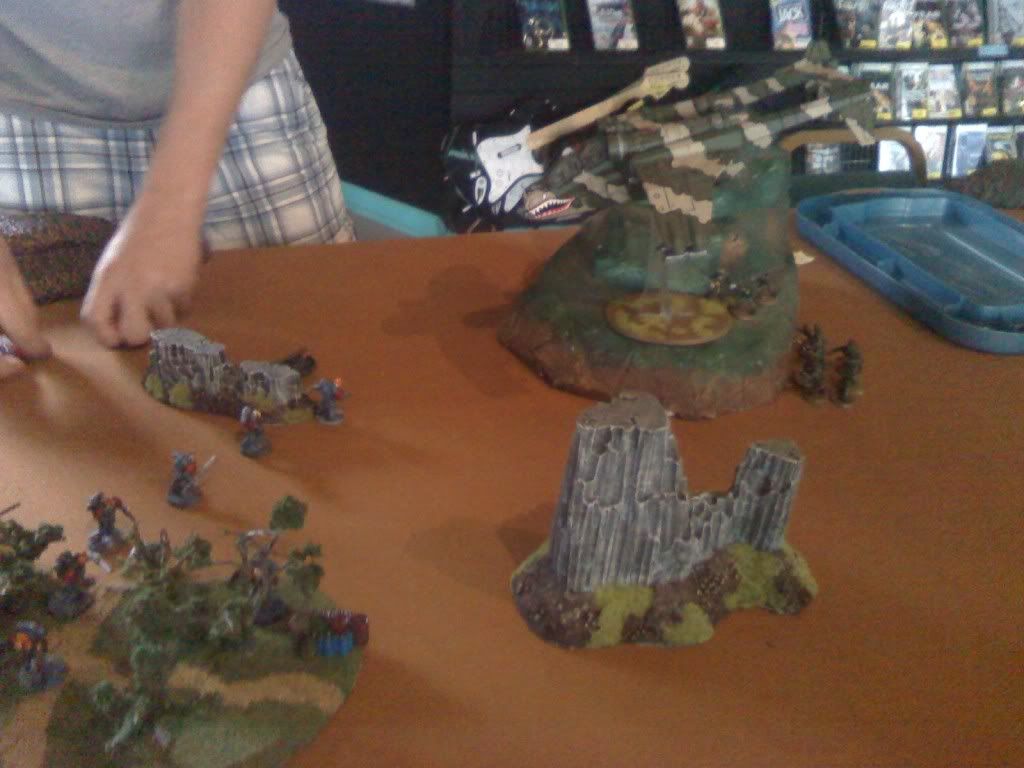
Following their commander’s orders, the forces of the Cadian 17th Recon detatchment started establishing a centralized grid of operations. Using their experience as both a recon force and stalwart defenders, they had selected primarily mountainous terrain also located around portions of a ruined city. Col. Dray felt that his units would have an advantage in the higher grounds. Using Valkyrie and Vendetta transports they were able to establish a centralized base and start monitoring the other forces that have been arriving to Masuda.

“We’re going to have to prepare for anything men”, the Colonel had told his officers. “If we learned anything, it is that no one can be trusted, especially after that debacle with the Pillars of Hatred. We lost some good men and some of them to supposed Allies. At least we won’t have to worry about that cursed renegade Inquisitor, Lord Aki.”

The Colonel looked hard and long at his assembled officers before him. He knew this would be a series of long and hard fights. But he knew, after the trials, temptations, and tribulations that they had faced, he could rely upon them without question.

“We have sent word through our own networks for reinforcements and allies. It will be some time until they can arrive to assist us. So, under my orders, unless they are flying our banner or using our code, all forces are to be considered enemies. Even those forces of the Astartes. After our last encounters with them, even they are not immune to the temptations of evil. Your orders will be to obey me, and sometimes those orders may put us at odds with those who seem loyal to the Imperium, but again, we are not to trust ANYBODY! Do I make myself clear?!”
Photobucket
Of course the Colonel’s men all agreed in unison. They had witnessed their commander first hand, take them through dark times and come out better than they imagined. Yes, they would trust nobody else, save their own men.

As the forces of the Imperial Guard established their presence on Masuda, their surveillance network had already detected scout forces moving in on their location. Reports came back of ‘hostile intentions’ by the Space Wolves known as “Berek’s Great Company”, a near-renegade chapter of Space Wolf Astartes Marines who were taking to the field under the command of Wolf Lord Bulveye.

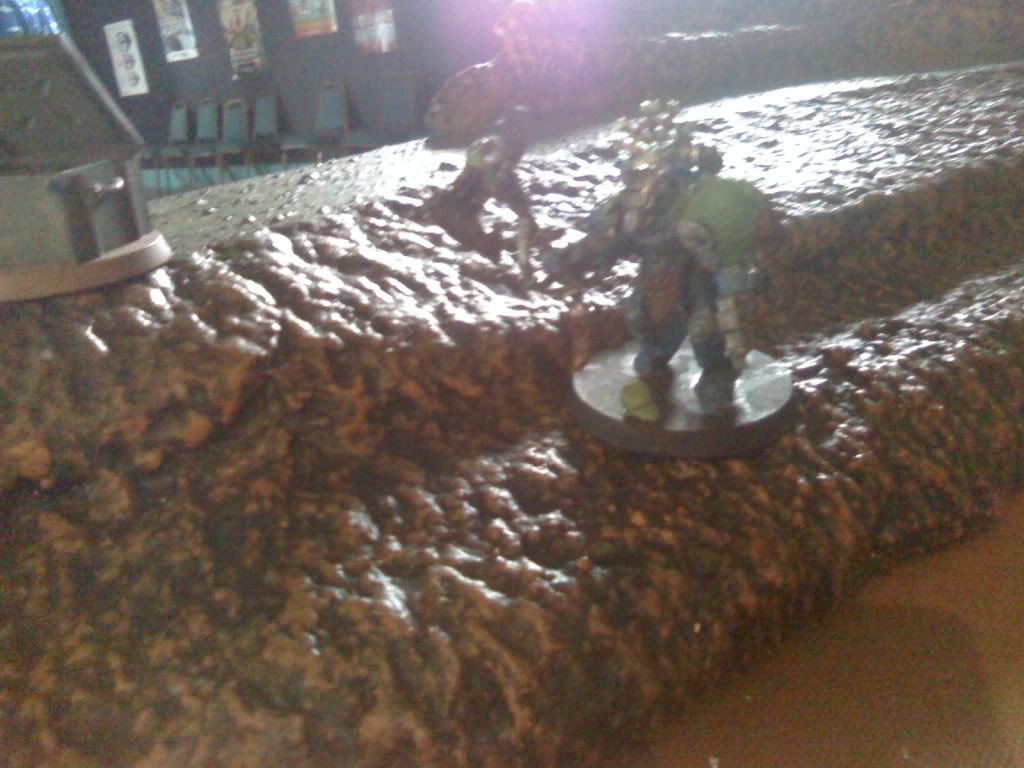
Looking to intercept the forces of Berek’s Great Company before they could become a nuisance, Colonel Dray led a small strike team through the mountains and intercepted the Space Wolf warriors in the Mountains, near a Command Bastion they had recently taken possession of.
Photobucket
The Plan was simple: Prepared Assault. Colonel Dray would establish a fire base in the mountains and than rely upon scout and recon forces to intercept and outflank advancing troops. The addition of a Leman Russ Executioner tank would further strengthen the bombardment. Col. Dray expected that the rough terrain of the mountains may create low-visibility situations and felt that the shorter ranged, yet massive firepower of the Executioner tanks Plasma Canons would seal any hope he had of a victory against so cagey an opponent.

1000 Points: Imperial Guard vs. Space Wolves, Imperial Guard go first.Photobucket
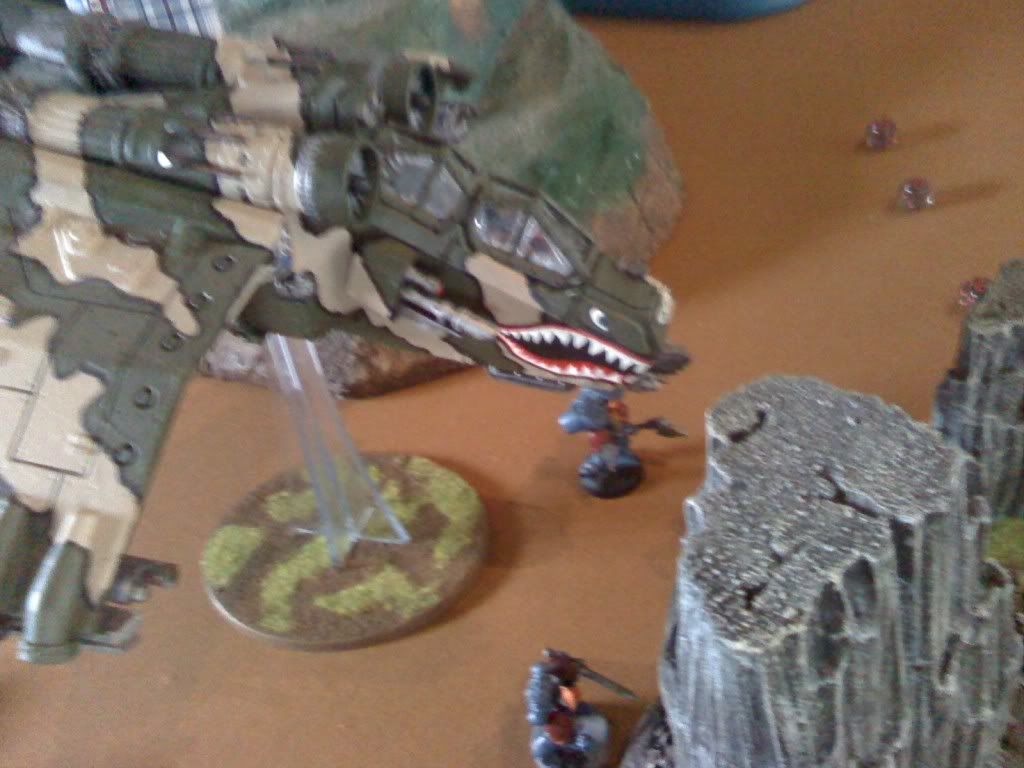
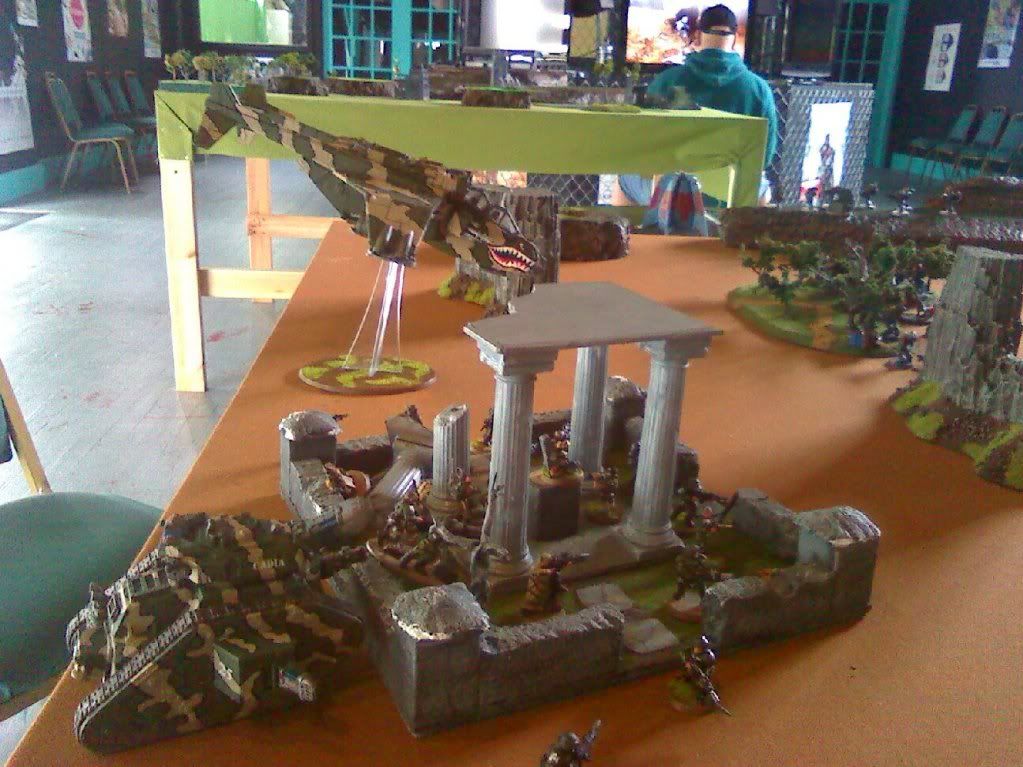
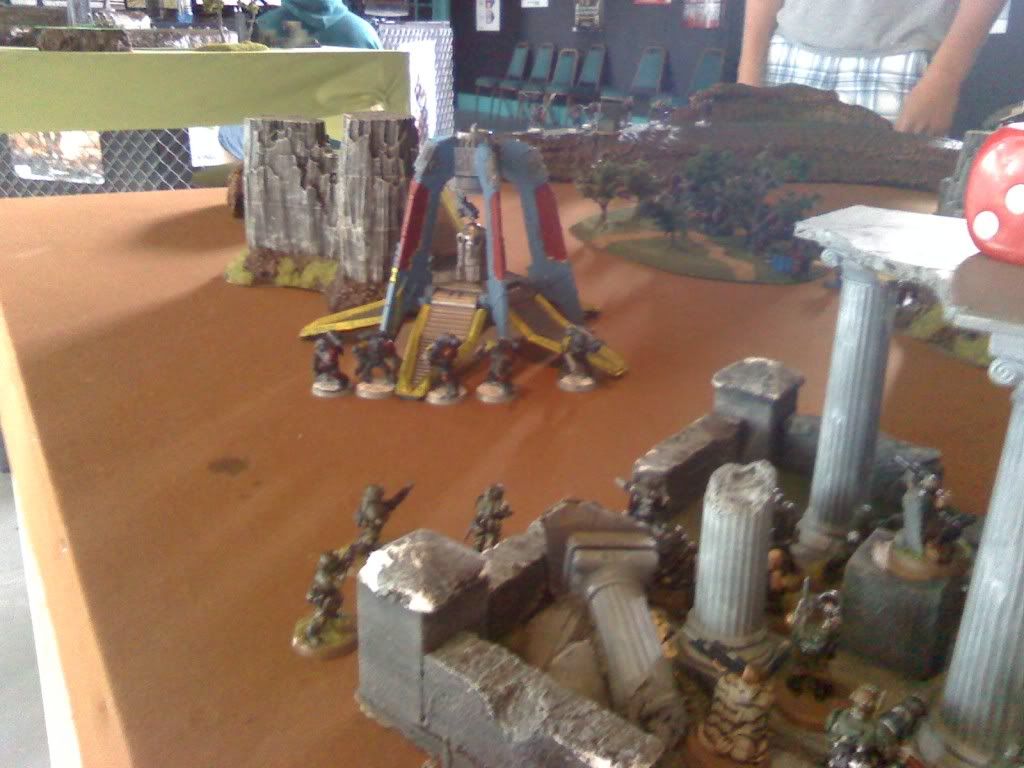
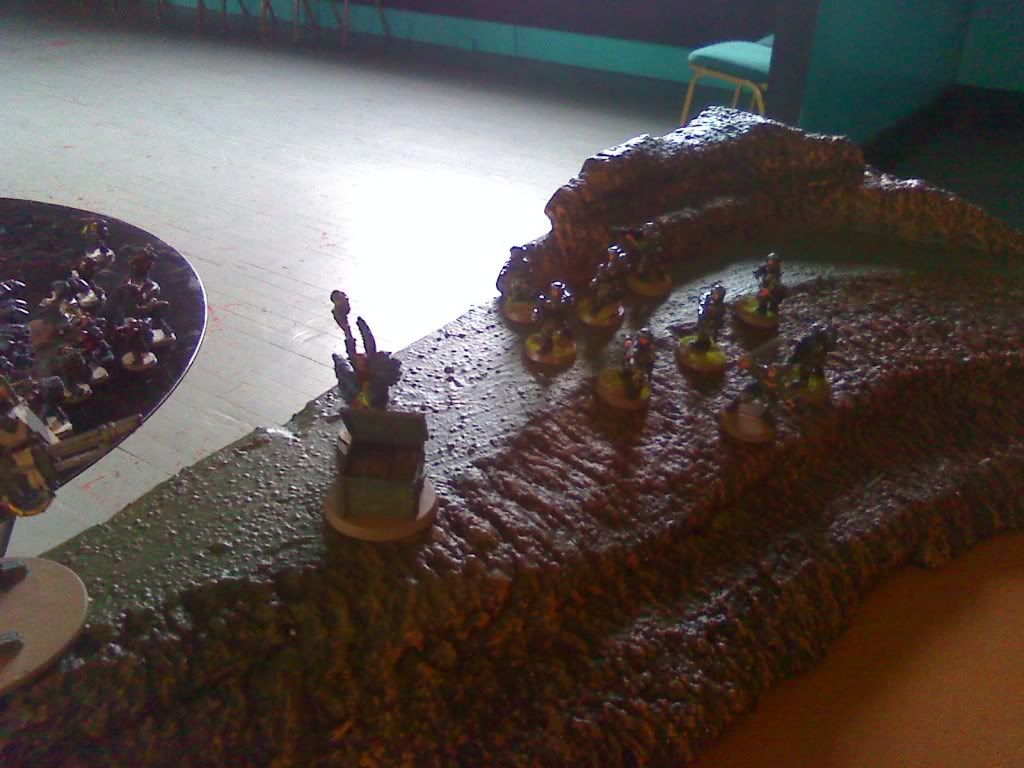
IG turn 1: Preparing to do the most damage they could but still trying to control critical positions on the battlefield so as to allow them to possibly take the Bastion away from the Wolves. Colonel Dray took up positions in a ruined town square that was overgrown with a variety of foliage. Taking two snipers, a lascannon team and Major Thomas Gunns, a Master of Ordnance officer, Col Dray was happy to see his men along with a quintet of Ratling Snipers unload some fire power into an advancing squad of Sky Claws, the Space Wolves Jump Infantry.

The Valkyrie “Warthog” boosted over the enemy lines, executed a 180 spin and roll and also fired multiple rocket pods into the Sky Claws, effectively breaking their moral and forcing them to fall back.

Space Wolf 1: Evaluating their situation the Space Wolves looked nPhotobucket
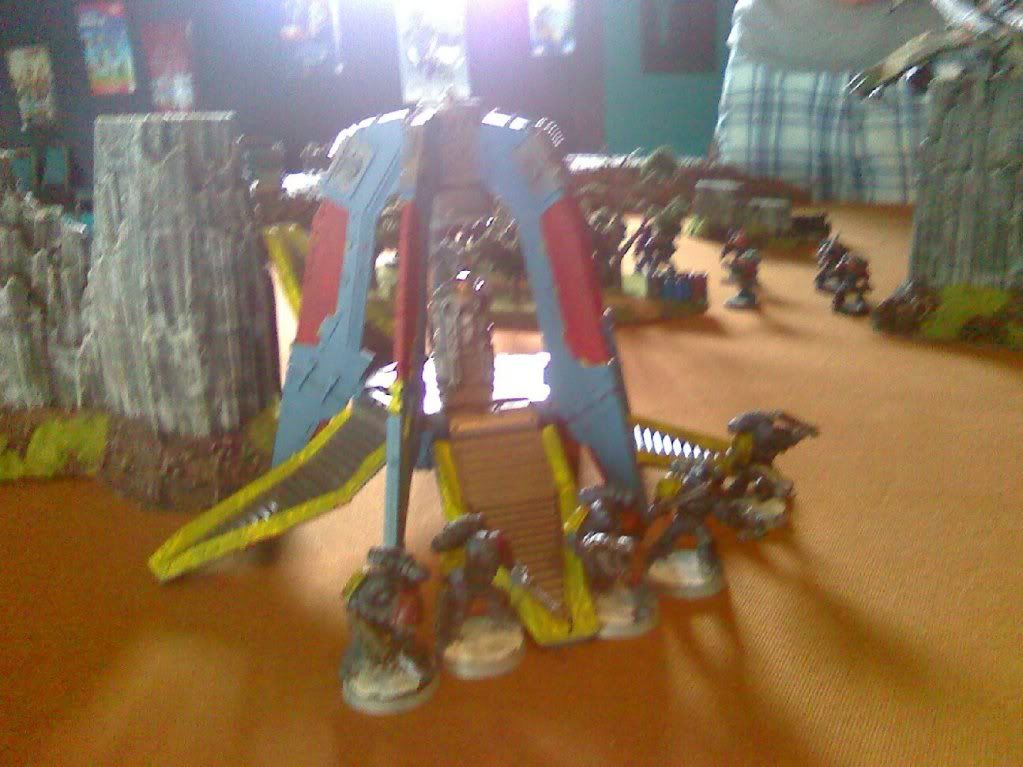
one-too-pleased with the Imperial Guard taking a fight to them. A rune priest along with a unit of Grey Hunters secured the Western Flank. The priest called out with the “Living lightning” and only managed to shake the Valkyrie. A drop pod arrived, slamming home close to the command squad of Col. Dray.
Photobucket
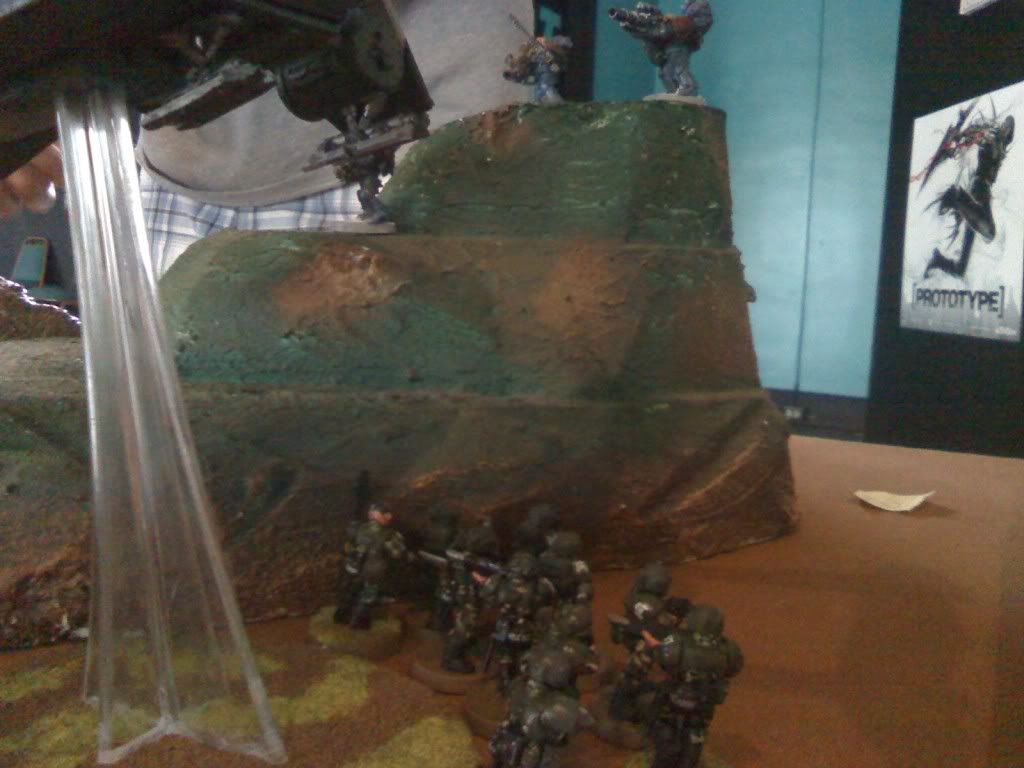
Long Fangs atop a mountain bluff unleashed their fury of missle launchers also into the Valkyrie, but the extra armor on The Warthog kept it mobile and moving. The Blood Claws in the middle of the battlefield attempted to assault the Valkyrie, but to no avail. Also, the Sky Claws fled the field of battle, clearly not ready for the trials of combat.
Photobucket
Imperial Guard 2: The ‘Warthog’ moved North East and unloaded its cargo: Veteran Squad Delta, who unleashed Plasma-hell upon the Long Fangs on the mountain bluff. All seven shots hit (3 Plasma guns and a plasma pistol for good measure. Four of the Six Long fangs failed to retain their footing).

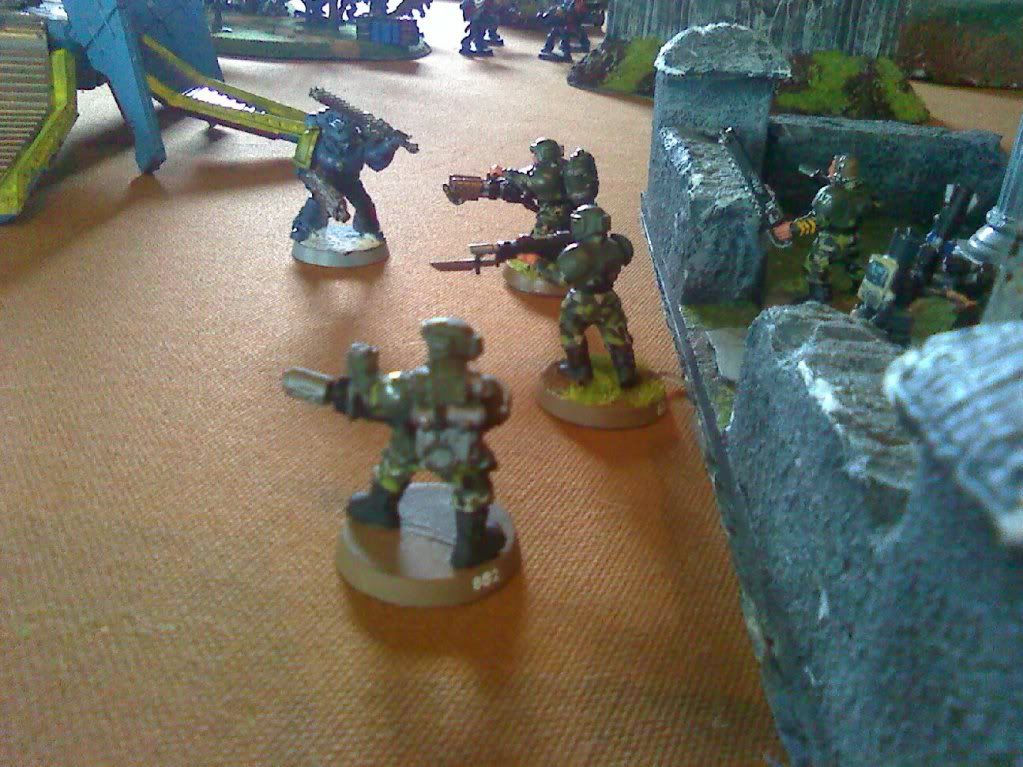
With the drop pod and Wovles so close, Colonel Dray ordered his men to fire upon his target and selected them. All of his troops combined their fire into the six man squad. Snipers, ordnance, pistols, a squad with a Heavy Flamer, all made short work of this unit of Space Wolves, leaving just one man in the mob, who smartly turned tail to fall back as well.
Photobucket
On the Western Flank, the scout sentinel walker and a squad of Kasrkin stormtroopers arrived, and they also combined fire into the Grey Hunters, and took them out to a man thanks to the Hot-Shot lasguns of the stormtroopers. Only the Rune Priest remained and he was also injured.

Space Wolf 2: One lone Long Fang remained. He aimed his missle launcher at the Valkyrie, scored a penetrating hit, but again only stunned, it and the extra armor on the Valkyrie was its saving grace. The Rune Priest attempted to use “Jaws of The White Wolf” on the stormtroopers and killed one with a melta gun.
Photobucket
The lone grey hunter near the command squad regrouped and turned around to assault the guard unit that gunned down his friends. He ended up taking a few of the guardsmen down with him and remaining locked in combat.

Imperial Guard 3: Concentrated fire from the Lascannon team destroyed the Drop pod in a brialliant explosion that killed off a few more guardsmen too close to the vessel. On the North Eastern zone, the veterans of Delta Squad moved again and finally finished off the last Long Fang atop the mountain bluff. The Valkyrie, unable to fire, moved to receive a cargo full of troops next turn.
Photobucket
The Sentinel and Stormtroopers finished off the Rune Priest and repositioned as the Wolf Lord, Bulveye himself broke free of his once large squad of Blood Claw troops, who were trying to hold their ground under the continued pounding fire of the Leman Russ Executioner’s Plasma Cannons and the sniper attacks of both the Ratlings and the command squad. Slowly but surely, the Space Wolves were running out of troops.
Photobucket
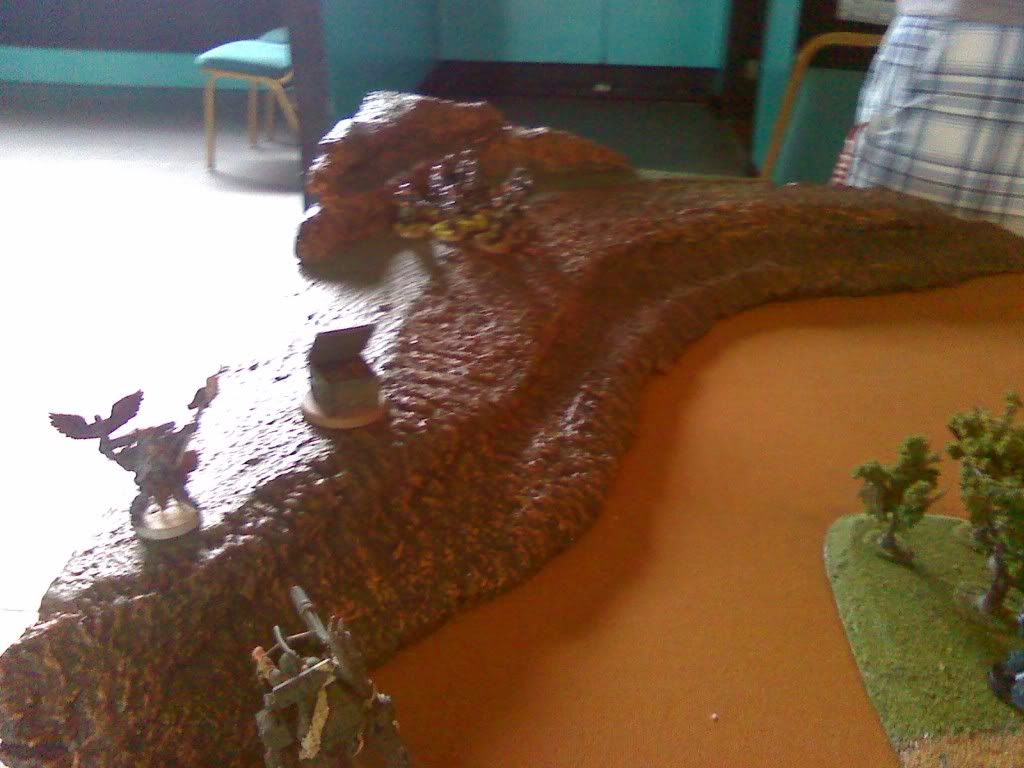
Space Wolf 3: Blood Claws scurry to attempt to control 2 objectives. Wolf Lord Bulveye moves through the woods looking to close in on the Sentinel and Stormtroopers in the West. They are powerless to stop the Leman Russ and troops again fail to do any damage to the Valkyrie.

Imperial Guard 4: Stormtroopers turn their hot-shot lasguns on Lord Bulveye. They desperately try to gun him down and manage to kill his Fenrysian wolf and inflict a wound upon him. Executioner tank and Valkyrie continue to rain down fire into the Blood Claws. Delta Squad starts to run towards the next objective.

Space Wolf 4: Wolf Lord Bulveye closes in on the stormtroopers squad. He charges them in a heated frenzy, killing several of them and running the rest of them down, scattering the squad in a sweeping advance. Blood Claws desperately try to hold off closing forces of the Imperial guard, killing one of the 3 remaining men from Veteran Squad Epsilon, the ones that took the brunt of the explosion from the drop pod.
Photobucket
Imperial guard 5: Concentrated firing kills off 4 more Blood Claws, leaving just a handful of troops left. The Sentinel attempts to shoot the Wolf Lord as well as snipers, who fail to do any more harm to him. The Sentinel engages the Wolf Lord in an assault, but fails to hurt him.

Space Wolf 5: The remaining Blood Claws try to consolidate their position in the middle of the field inside a forest, desperately trying to hold onto their objective. The wolf lord manages to immobilize the Sentinel but is still locked in close combat with it.

Imperial Guard 6: The rest of the Imperial Guard forces combine all firepower into the few remaining blood claws. Sniper rifles, plasmas cannons, lasguns, melta guns and rocket pods target the woods. When the smoke clears, no more Space Wolf troops can be seen.

Veteran Squad Delta secured the Northern most objective. The remnants of Veteran Squad Epsilon also secured the central objective.

Space Marine turn 6: The only remaining model for the Space Wolves is Bulveye. He finishes off the sentinel walker in a specatular wreck. The game would end here, Imperial Guard: 2 Objectives, Space Wolves: 0.

Due to the campaign rules and such, the Imperial Guard selected the Command Bastion territory owned by the Space Wolves. (in the campaign, I needed to roll an 8+, and rolled a 10, thus gaining a new territory).